

Energy efficiency is now a top priority for both homes and businesses. As electricity prices go up, people are paying more attention to being green.
Small changes in our lighting can create a significant impact. One simple and effective way is to use LED lamps with timers. This setup saves energy, adds convenience and improves security.
In this guide, we will show you how to set up LED lamps on a timer. We will explain why this is important and how it works. We will also give you clear, step by step instructions to follow. By the end, you will have a good plan for saving energy.
Read our article for detail on: Ultimate Guide to LED Lamps for UK Homes
Why Use LED Lamps with a Timer?

Before diving into the setup, let’s explore the reasons why pairing LEDs with timers is such a smart move.
1. Energy Efficiency
LED lamps already consume up to 80% less energy than traditional incandescent bulbs. By adding a timer, you ensure they only stay on when needed. This further reduces unnecessary energy consumption.
2. Cost Savings
Lower energy use means lower electricity bills. For homes or businesses with many lights, the savings can grow over time.
3. Convenience
No more forgetting to turn off the lights before heading out. With a timer, your lamps automatically switch on and off according to your schedule.
4. Home Security
Timed lighting can give the impression that someone is home, even when the house is empty. This adds extra protection against possible intruders.
5. Extended Lamp Life
Since your LED lamps won’t run when not needed, they experience less wear and tear, which means they last longer.
Types of Timers for LED Lamps
Not all timers are the same. Choosing the right one depends on your needs, budget and how much control you want over your lighting. Here are the main types:
1. Plug In Timers
- How it works: You plug the timer into the wall socket and then plug your lamp into the timer.
- Best for: Table lamps, floor lamps or portable lighting.
- Pros: Affordable, easy to set up.
- Cons: Limited to devices with plugs (not suitable for hardwired ceiling lights).
2. In Wall Timers
- How it works: Installed directly into the wall switch.
- Best for: Ceiling lamps, chandeliers or wall mounted lighting.
- Pros: Clean look, integrated control.
- Cons: Requires some electrical knowledge for installation.
3. Digital Timers
- Features: Allow precise scheduling down to the minute, with multiple on/off cycles per day.
- Best for: People who need detailed control.
- Pros: Flexible, adjustable.
- Cons: The price is slightly higher.
4. Smart Timers (Wi-Fi or Bluetooth)
- How it works: Controlled via a smartphone app or smart home system (like Alexa, Google Home or Apple HomeKit).
- Best for: Tech savvy users, remote control and integration with smart homes.
- Pros: Remote access, voice control, advanced automation.
- Cons: Requires internet or app setup.
5. Mechanical Timers
- How it works: Use dials or pins to set on/off times.
- Best for: Simple scheduling without extra features.
- Pros: Affordable and easy to use, no tech skills required.
- Cons: Less precise, fewer adjustments options.
Step by Step Guide to Setting Up LED Lamps on a Timer
Let’s get practical. Here’s a simple step by step approach to set up your LED lamps with a timer:
Step 1: Choose the Right Timer
Select a timer based on where your lamp is located and how much control you want. For beginners, a plug in digital timer is the easiest option.
Step 2: Plug In Your Timer
- If it is a plug in timer, insert it into the wall socket.
- If it is an in wall timer, you might need to turn off the circuit breaker. Then, replace the current switch with the timer. If you are not sure how to do this, hire an electrician.
Step 3: Connect Your LED Lamp
Plug the lamp directly into the timer socket. Make sure to turn the lamp’s power switch ON, so the timer can control it.
Step 4: Set the On/Off Schedule
- For mechanical timers, push down the pins that correspond to the hours you want the lamp to be on.
- For digital timers, use the buttons to set specific times. Many allow multiple schedules per day.
- For smart timers, open the app and configure schedules, automation or remote control settings.
Step 5: Test Your Setup
Wait for the next scheduled time to see if the lamp switches on/off as expected. Adjust if necessary.
Step 6: Fine Tune Your Schedule
Start with general times (e.g., lights on at 6 PM, off at 11 PM) and refine based on your routine.
Practical Examples for Everyday Use
Here are a few real life scenarios where setting up LED lamps on timers can be especially useful:
Evening Security Lighting
- Front porch light turns on automatically at sunset and switches off at midnight.
Bedroom Lamps
- Lamps turn off at 11:30 PM to encourage better sleep habits.
Vacation Mode
- Lights switch on and off randomly to mimic human activity while you are away.
Office or Study Room
- Lamps turn on at 8 AM and off at 5 PM for a consistent work routine.
Outdoor Garden Lights
- Timers can control decorative LED lights, saving energy while still providing ambiance.
Tips for Maximizing Energy Savings
- Use LED Lamps Only: Make sure all lamps connected to timers are energy efficient LEDs.
- Take Advantage of Dimming Features: Some timers and smart plugs allow dimming, which saves even more energy.
- Use Motion Sensors: In places like hallways or bathrooms, pair a timer with motion detection for better control.
- Use Sunrise/Sunset Settings: Many smart timers can change based on local daylight. This way, your lights only run when needed.
- Avoid Overlapping Schedules: Ensure multiple timers do not run lights simultaneously unless necessary.
Troubleshooting Common Issues
Even with the right setup, you might run into a few hiccups. Here’s how to handle them:
- Lamp not turning on/off: Double-check the timer is set correctly and the lamp’s switch is in the ON position.
- Timer not working with LED lamps: Some older timers may not be compatible with LEDs. Use a timer specifically designed for LED loads.
- Digital timer resets: Ensure the battery backup (if available) is working; otherwise, a power outage can reset your schedule.
- Wi-Fi timer not connecting: Make sure your router is within range and the timer supports your Wi-Fi frequency (2.4GHz is most common).
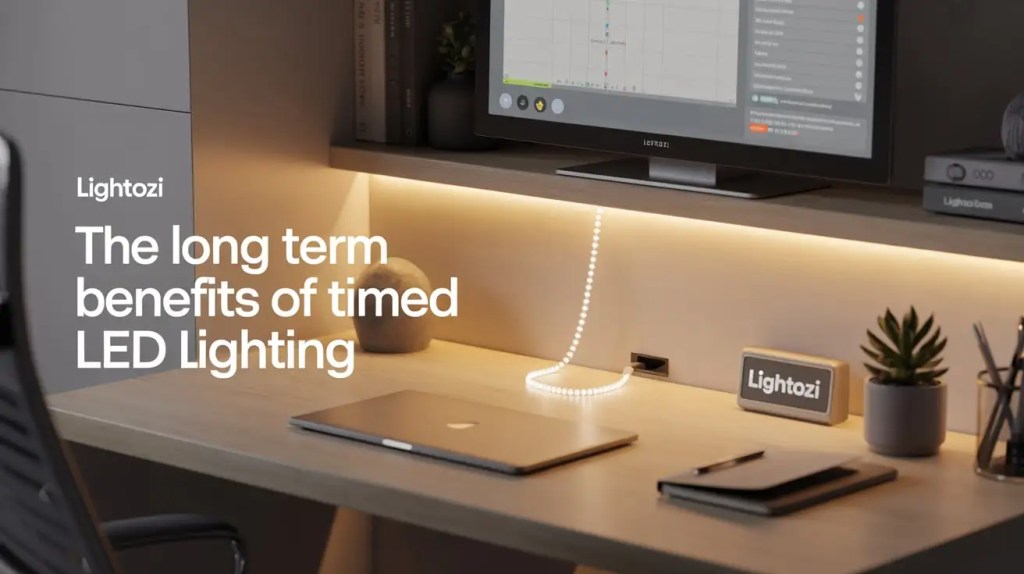
The Long Term Benefits of Timed LED Lighting
The mix of LED efficiency and automated control makes a strong energy saving solution. Over time, the benefits go beyond lower bills:
- Lower carbon footprint.
- Increased home security.
- A more convenient lifestyle.
- Extended lamp lifespan.
Conclusion
Setting up LED lamps on a timer is a simple yet highly effective way to achieve smart energy savings. You can use a simple plug in timer, a digital timer or connect to your smart home system. The result is the same: less energy waste, lower electricity bills and a more efficient lifestyle.
The best part, You can start without needing the skills of an electrician or tech expert. With just a small investment and a few minutes of setup, you can enjoy the comfort and savings of automated lighting.
Next time you turn on your lamp, think about using a timer. It can save energy, money and effort.
FAQs
Not all timers are compatible with LED lamps. Some older mechanical timers may not work well with LEDs. For best results, use timers specifically designed for LED or digital/smart timers.
No, timers help save electricity. They use a little power to operate, but the energy savings from scheduled lighting are much higher.
Yes, but ensure that you choose a timer rated for outdoor use. Manufacturers design weatherproof timers to handle rain, moisture and varying temperatures.
No, using a timer will not damage your LED lamps. In fact, since the lights will run only when needed, their overall lifespan can increase.
Yes, you can plug a power strip into a plug in timer and connect several lamps. Just ensure the combined wattage does not exceed the timer’s rated capacity.


[…] Read our article for detail on: How to Set Up LED Lamps on a Timer for Smart Energy Savings […]